In Hoi An in 2019, I watched a man with a Leica M10 spend forty-five minutes trying to photograph the lanterns over the Thu Bon River at the wrong time of day. The light was flat and overhead, and no amount of Leica glass was going to fix what the sun was doing. Meanwhile, a woman two benches away was taking pictures on an iPhone 8 at 6:15 PM when the light turned amber, and her results (I could see them on her screen when she walked past) were gorgeous.
The gear conversation in travel photography is almost entirely beside the point. I own a mirrorless camera that I sometimes carry and sometimes don't, and the photos I take on my iPhone on certain evenings are indistinguishable from the mirrorless shots in terms of emotional impact. What the mirrorless gives me is technical latitude: better noise performance in darkness, more depth-of-field control, the ability to use a longer lens for compression. What it doesn't give me is light, timing, or an instinct for what's worth photographing. Those things I have to bring myself.
This guide is for travelers who want better pictures, not more gear.
The best camera is the one you keep reaching for
The best camera is the one you'll carry for eight hours. This is a cliché because it's true, but the full implication of it goes further than most people take it: the best camera is also the one you'll take out at inconvenient moments, hold patiently while you wait for the shot to organize itself, and carry without the psychological weight of "I can't scratch this thing" inhibiting your willingness to use it.
I have seen people leave expensive cameras in hotel rooms on days when they were "just exploring" and miss the photographs those days produced. I have seen people with mirrorless cameras so conspicuous that taking them out in certain neighborhoods changed the energy of the scene they were trying to capture. And I've seen people so concerned about their gear's safety that they never held it in a position that produced a strong shot.
The camera that gets the photograph is the one that's in your hand. Everything else is post-hoc rationalization for the photo you didn't take.
The corollary to the best-camera principle is the light principle: learn to read light, and everything else follows. Good light (the hour after sunrise, the hour before sunset, known as the golden hour, or overcast days that produce even diffused light without harsh shadows) makes any camera look good. Harsh midday sun, particularly in summer at altitude, is difficult even for professionals to overcome. Your editing time in post-production is inversely proportional to how well you understand light at the moment of capture.
Work the light calendar, not the gear list
1. Learn the light calendar for your destination before you arrive.
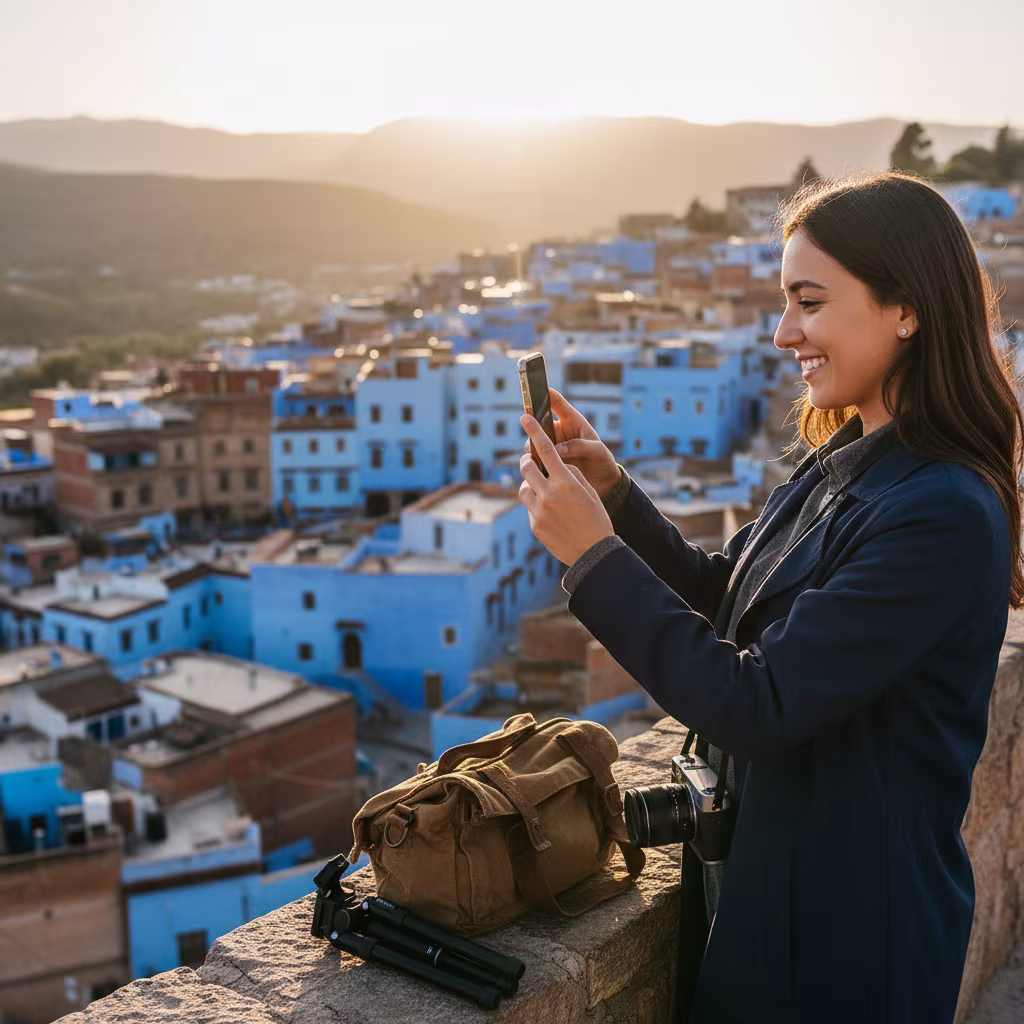
This sounds like extra homework, but it takes five minutes. Google "sunrise and sunset times [city] [month]" and write down the two golden-hour windows. These are the times you structure your photography around. At these windows, point your lens toward the side of the scene that's catching the low-angle light. Everything else in your day builds around them or doesn't, but you know when to have the camera ready.
2. Compose with one rule: the rule of thirds.
The rule of thirds divides your frame into nine equal sections with two horizontal and two vertical lines. Placing your subject on one of the four intersection points (rather than in the center) produces images that feel more dynamic. This single rule, practiced consciously for three or four days of travel, will measurably improve most people's photography. All modern smartphone cameras have a grid overlay option in settings; turn it on and leave it on.
3. Move your feet before you change your lens or zoom.
The instinct when something is compositionally wrong is to zoom or crop. The better instinct is to move: closer, lower, to one side, around the subject. A different angle changes the relationship between foreground, subject, and background in ways that zoom cannot replicate. Photography guides say this and travelers don't do it because it feels awkward to crouch or press against a wall. Do it anyway.
4. Look for frames within frames.
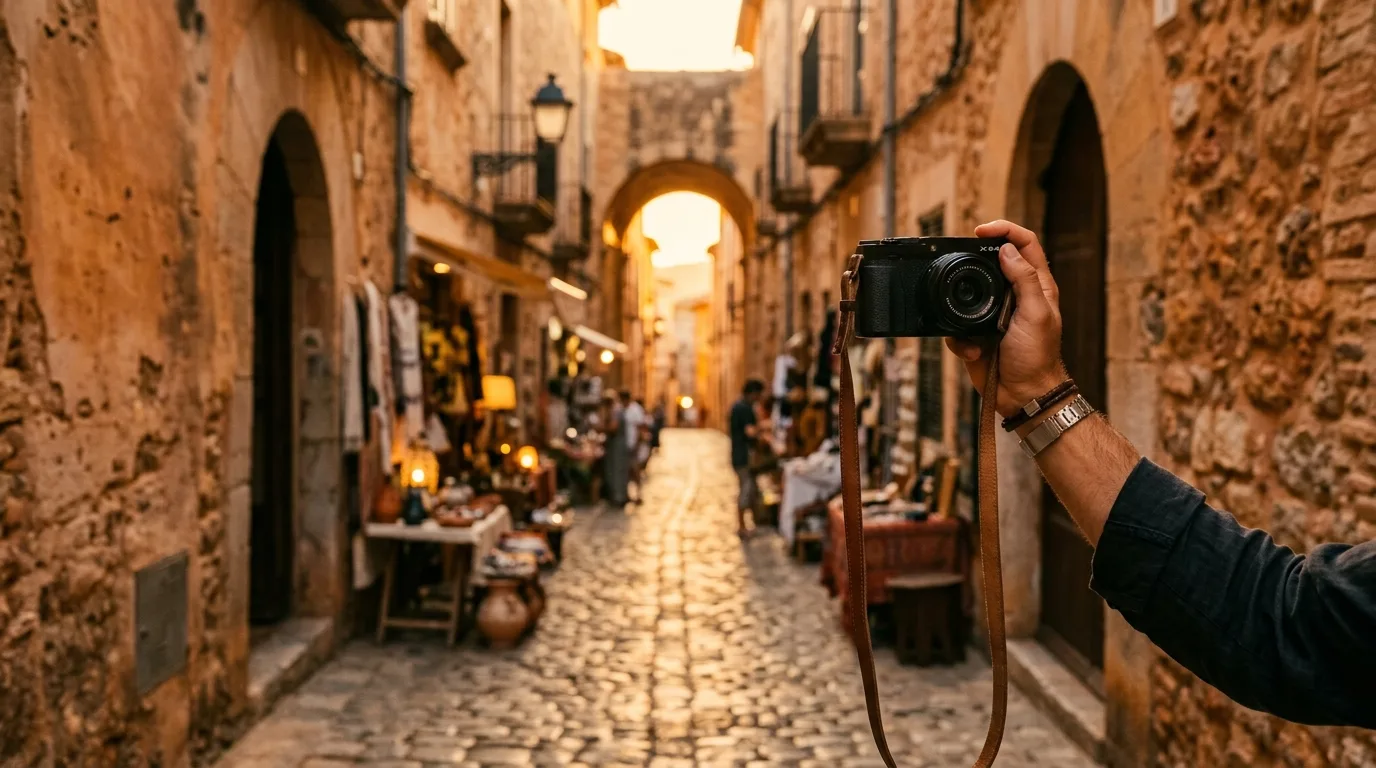
Doorways, archways, windows, overhanging branches, adjacent walls: any architectural or natural element that can contain your subject within a secondary frame adds depth and context to a photograph. This is a composition technique that makes smartphone photographs look dramatically more considered without any technical knowledge.
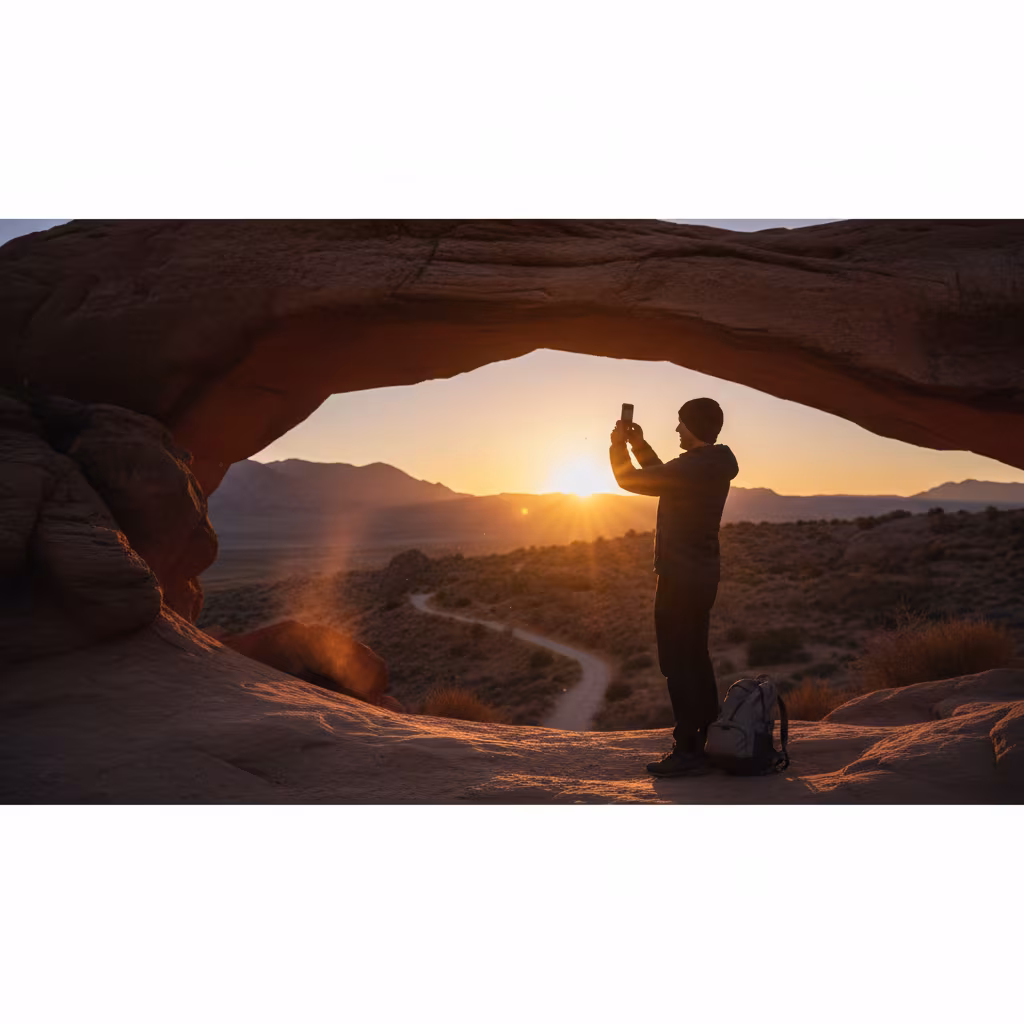
5. Photograph people from behind or in silhouette.
Faces create privacy questions and, more practically, introduce the stress of asking permission or the awkwardness of candid shots that feel intrusive. People photographed from behind, walking down an alley, looking out over a view, sitting at a market stall, work as storytelling devices without any of that friction. A silhouette against a lit window or a sunset sky can be one of the most emotionally resonant images you take.
6. Edit, but edit lightly.
Snapseed (free) on a smartphone is genuinely powerful. The three sliders that matter most: exposure (overall brightness), highlights (pull these down to recover a blown-out sky), and shadows (lift these slightly to open up dark areas without washing out the image). Avoid the Instagram-preset approach: a consistent filter applied to everything creates a look that dates photographs rapidly and doesn't actually teach you anything about what the photo needs. Edit each image individually based on what it's trying to do.
Marrakech at noon, and what the two who waited got
Marrakech in August. The light at noon is brutal: white and flat, producing harsh shadows under every awning. Three photographers in my group spent the middle of the day shooting in the souks and came back frustrated. The two who went to the hammam from noon to four and returned at 5:30 PM shot the evening market light and came back with completely different images. Timing is not a luxury; it is the practice.
A friend photographing Tokyo on a budget trip. She brought a used Sony A6000 with a single 35mm f/1.8 lens, a setup costing under $400 second-hand. The fixed focal length forced her to think about position rather than zoom. She came back with some of the strongest street photography I've seen from a first-time visitor, images with strong foreground-background relationships because the lens's limitations required her to work closer to her subjects.
Photographing the Atacama Desert. My own experience: a place that looks like it should photograph itself (vast, otherworldly, extraordinary light) but where most visitors produce images that look like screensavers. The problem is scale: the desert is too big for a single frame. The photographs that worked were macro shots of salt formations, people silhouetted against the sunset, close-up textures of cracked earth. Narrowing the frame in a vast landscape is a counter-intuitive lesson that took me half the trip to learn.
Shooting everything from standing height
Photographing everything from standing height. Eye level is the least interesting perspective for most subjects. Lower (for street scenes and children), higher (for markets and crowds), or close (for textures and detail) almost always produces more interesting images.
Keeping the camera in the bag during travel days. Train windows, airport terminals, taxi windshields: in-between moments that don't feel like "photography time" produce some of the most authentic images of travel. Keep the camera out.
Over-editing to compensate for weak shooting. Aggressive noise reduction, extreme saturation, HDR that makes skies look painted: these fixes are visible and they make photographs look processed rather than seen. Shoot in better light instead.
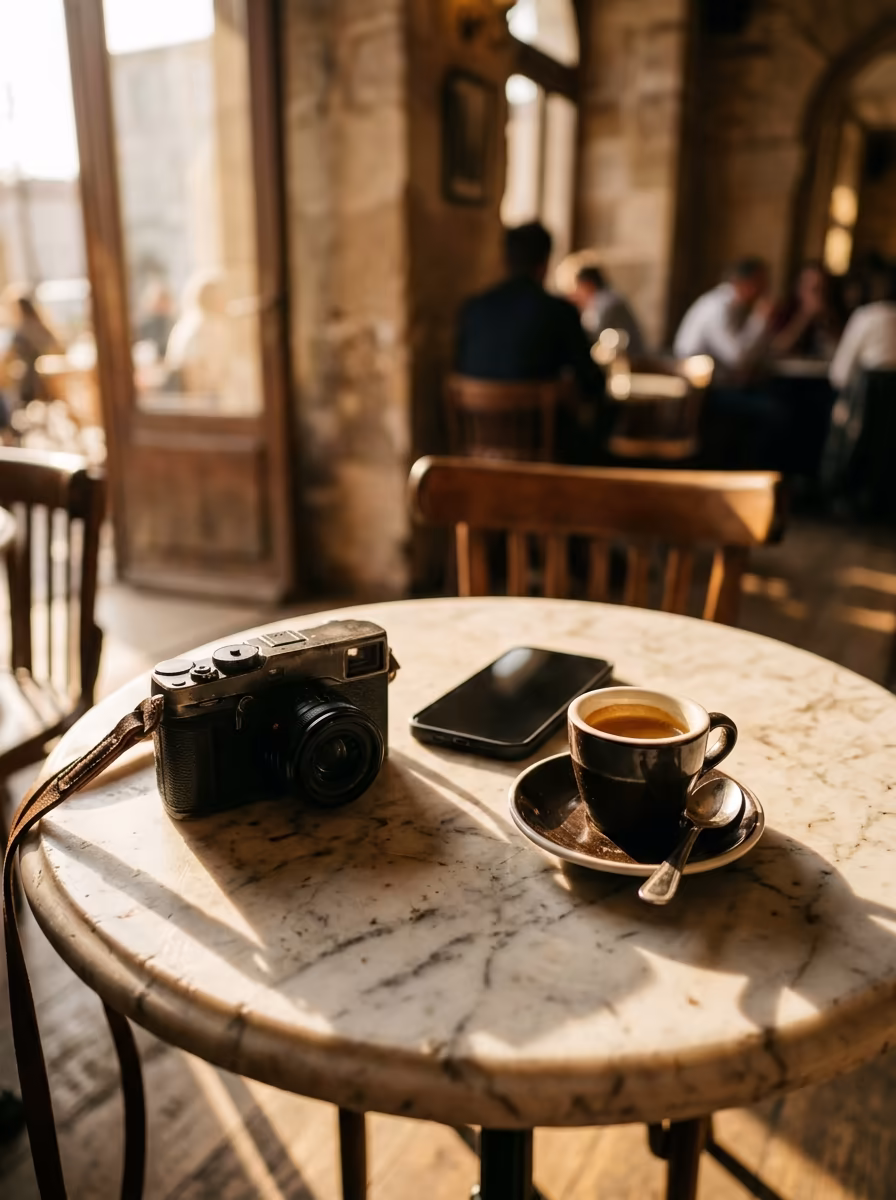
Only photographing "the attractions." A photograph of the Colosseum taken from the standard viewpoint is a photograph 50 million people have already taken. Spend some of your energy on the things that made the trip yours: the café table, the street corner you return to, the person who runs the guesthouse. Those photographs will mean more in ten years.
Not revisiting the same place twice. Returning to a location at a different time of day, or in different weather, almost always produces better photographs than the first visit. The first visit is reconnaissance; the second is photography.
Gear anxiety, answered honestly
Photography questions from travelers tend to cluster around gear anxiety. These answers try to redirect that.
Is it worth buying a mirrorless camera for travel?
If photography is a primary motivation for the trip and you plan to print or exhibit images, yes. For most travelers who want good photos to share and remember a trip by, a current-generation smartphone camera (iPhone 14+, Pixel 8+, Samsung Galaxy S24+) is genuinely sufficient. The gap between smartphone and entry mirrorless is narrower than it's ever been.
How do I photograph in low light without blur?
Use burst mode and select the sharpest frame. Brace the camera against a wall or table rather than holding it unsupported. If your camera has night mode, use it: it's doing computational photography that produces better results than a single exposure in low light.
Should I shoot in RAW format?
Only if you're willing to spend time in post-production. RAW files give you more editing latitude, particularly for recovering highlights and shadows, but they require processing software (Lightroom, Capture One) and time. For most travelers, shooting in the highest-quality JPEG and editing lightly in Snapseed is a better use of time.
How do I photograph people respectfully?
Ask, when possible: in many cultures a direct ask is welcomed, and the resulting photograph often has more character than a candid shot. When asking isn't practical, shoot from distance with a longer focal length, or use the back-of-head / silhouette approach described in the method section. Be especially attentive to local customs around photography near religious sites.


0 Comments
No comments yet — start the conversation.